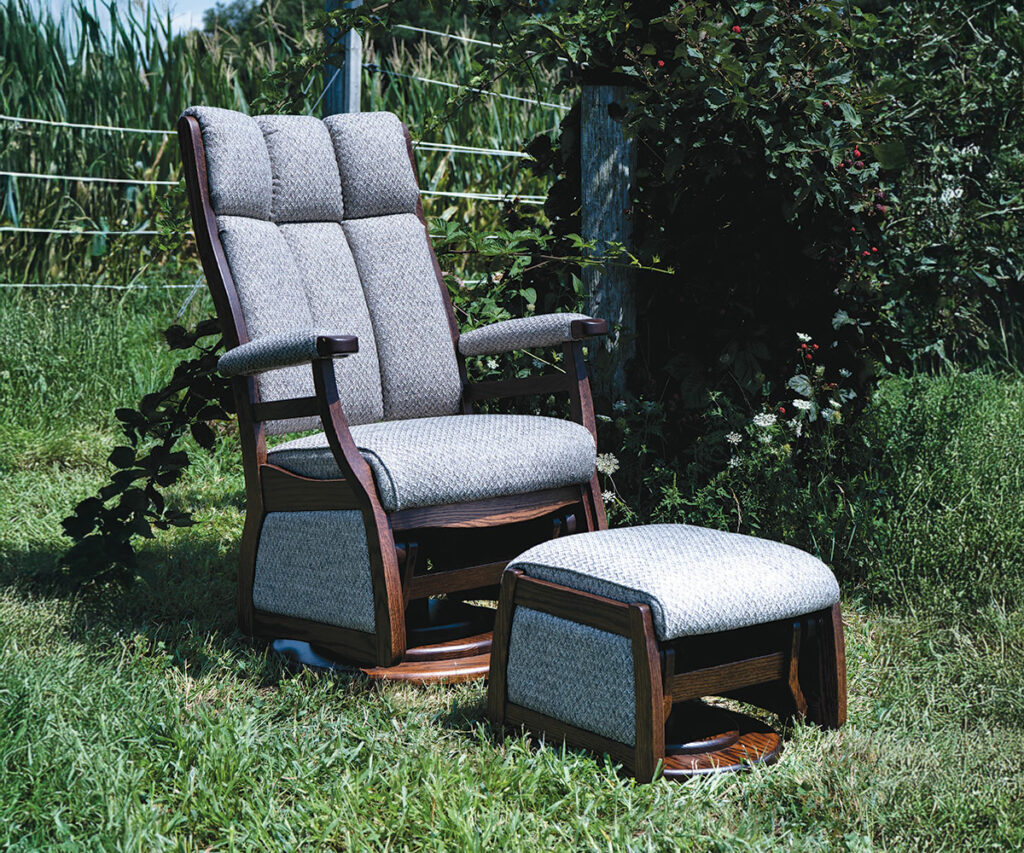
Buckeye Rockers, led by Dennis Hershberger and his team, is known for producing some of the finest office and living room chairs in the United States. Each chair is crafted with precision and care, from the kiln-dried solid wood frames built with mortise and tenon joints, to the hand-finished surfaces that resist stains and scratches. Durable, wood-covered steel bases ensure long-lasting support, while high-density foam and expertly upholstered fabric or leather deliver exceptional comfort and quality.
Glider Swivel Bearings Maintenance
Even with such high standards, occasional maintenance may be needed to keep your glider chair functioning smoothly. One common task is replacing the swivel bearings—an essential component that allows your chair to glide with ease.
The following step-by-step guide will walk you through the process of replacing the glider swivel bearings on a Buckeye Rockers chair.
Walkthrough: Replacing Glider Swivel Bearings
Follow the written walkthrough to properly replace your glider swivel bearings. If you need help disassembling the chair from the glider swivel base, visit this walkthrough.
Replacement Bearing Kit Includes:
Plastic Cap
Thrust Bearing (x1)
Flat Thrust Bearing Washers (x2)
Recommended Tools & Supplies:
Chisel
15/16″ Socket Wrench
Grease
Loctite® Threadlocker
Hammer
Step 1: Remove Swivel Mechanism from Base
To change the bearings in the swivel of a Buckeye Rockers glider, begin by removing the cap on top using a chisel. Be aware that this will damage the cap, but it’s necessary for access. Next, use a 15/16″ socket wrench to loosen and remove the nut on the swivel mechanism. Once the nut is off, lift the top portion off the base to expose the top bearing and washer on the swivel mechanism.
The bearing must be pressed out from the swivel mechanism. If that proves difficult, Buckeye Rockers can provide a replacement swivel mechanism with a new bearing installed.
Step 2: Remove Existing Bearings & Clean Bearings Area
On the base, remove the existing set of bearings which includes three pieces: one thrust bearing and two flat thrust bearing washers. The O-ring should remain in place.
Clean the area thoroughly, removing any old grease, and reinstall the O-ring if it came off during disassembly or cleaning.
Step 3: Install New Bearings
To install the new bearings, you’ll need one thrust bearing and two flat thrust bearing washers. Begin by placing one flat washer in position, then apply a small amount of grease on applied washer.
Next, install the thrust bearing on top of existing washer and add more grease before applying the second flat thrust bearing washer on top.
Step 4: Set & Tighten Swivel Mechanism
With the new bearing set in place, slide the swivel mechanism securely back onto the base. Apply a small dab of Loctite® Threadlocker to the threads, then hand-tighten the nut.
Use either a new or reused 15/16″ nut that was removed at the beginning for reassembly. Tighten it until you feel resistance, then give it a firm torque.
Move the swivel mechanism back and forth slightly to ensure all parts are compressed together. Now, reverse the nut slightly to loosen the mechanism so the swivel moves freely. Then retighten it until the chair swivels smoothly with minimal resistance.
Step 5: Replace Plastic Cap
Finally, install the new plastic cap that comes with the replacement bearing kit by pressing it down onto the swivel—you may gently use a hammer around the edge of cap to secure it in place.
At this point, the bearings are replaced and you’re ready to reattach the chair to the base.